When I began the adventure of creating a farm from scratch on raw land, one of the first things I needed to start building a shed was a pair of sawhorses. If you’re new to woodworking, basically they are a beam with 4 legs, used for cutting boards and other materials that are lain across them. With a piece of plywood or OSB placed on top, they also function as an excellent temporary table–in my case, this was a sort of home base for the construction when working in the middle of a field with no infrastructure.
I looked around for different sawhorse plans, and settled on these ones made only from 2x4s because they looked incredibly simple to put together without a workshop, while still being sturdy. And they have the added benefit of being stackable. There are other plans out there that require a lot more time and necessary cuts, but these are more than good-enough to begin with.
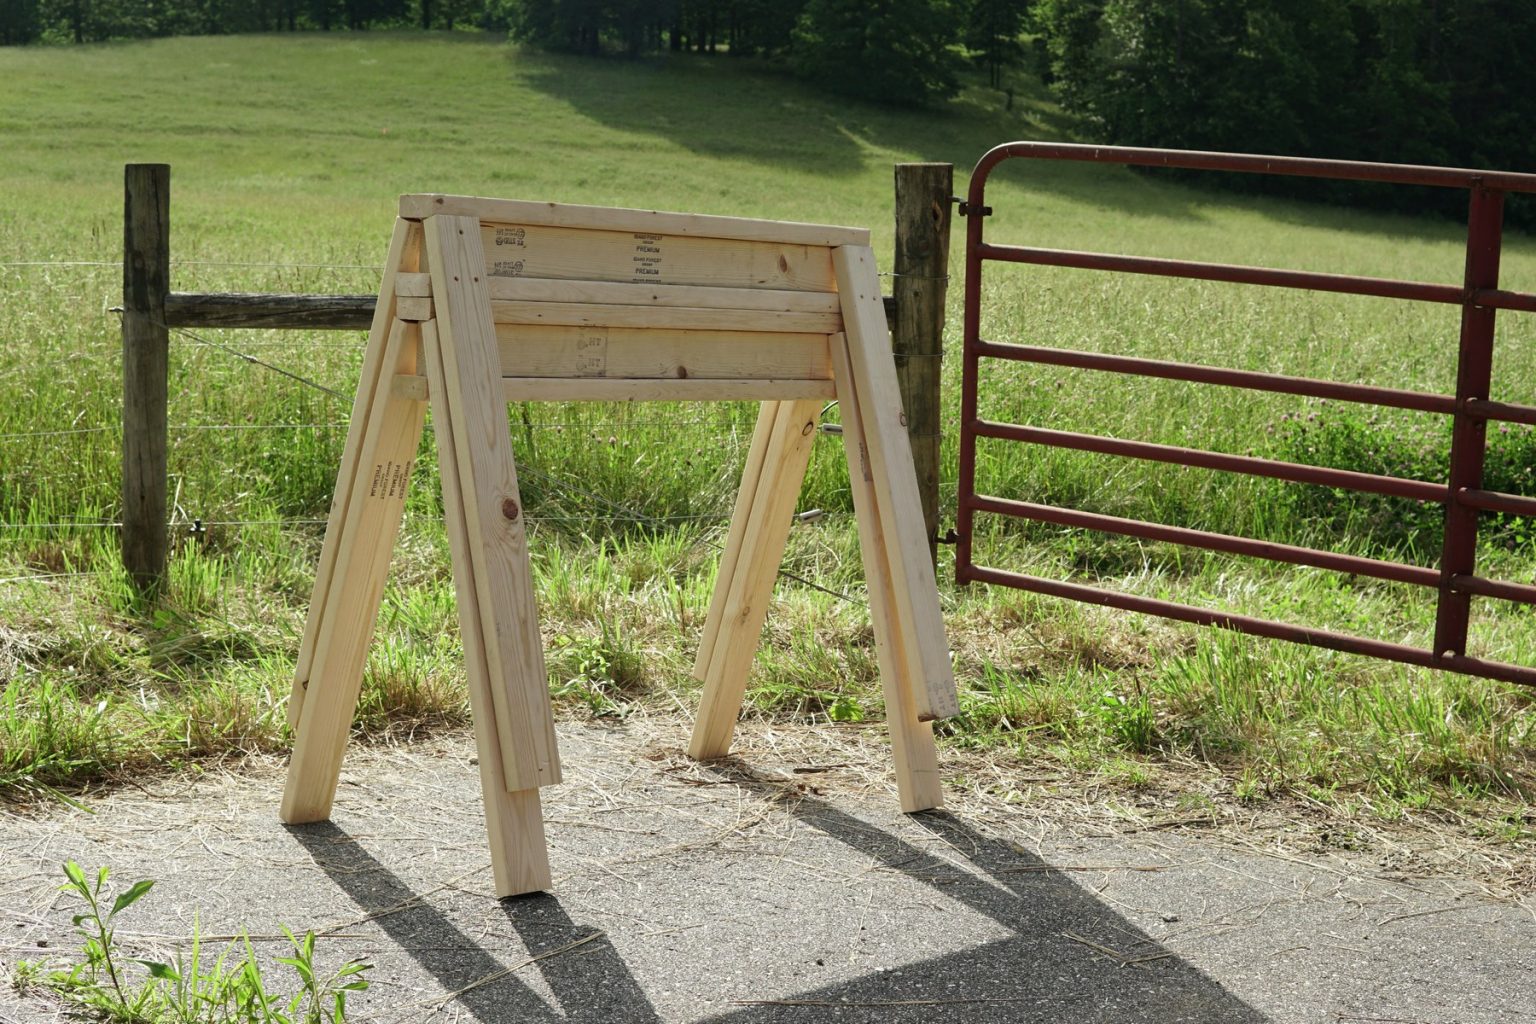
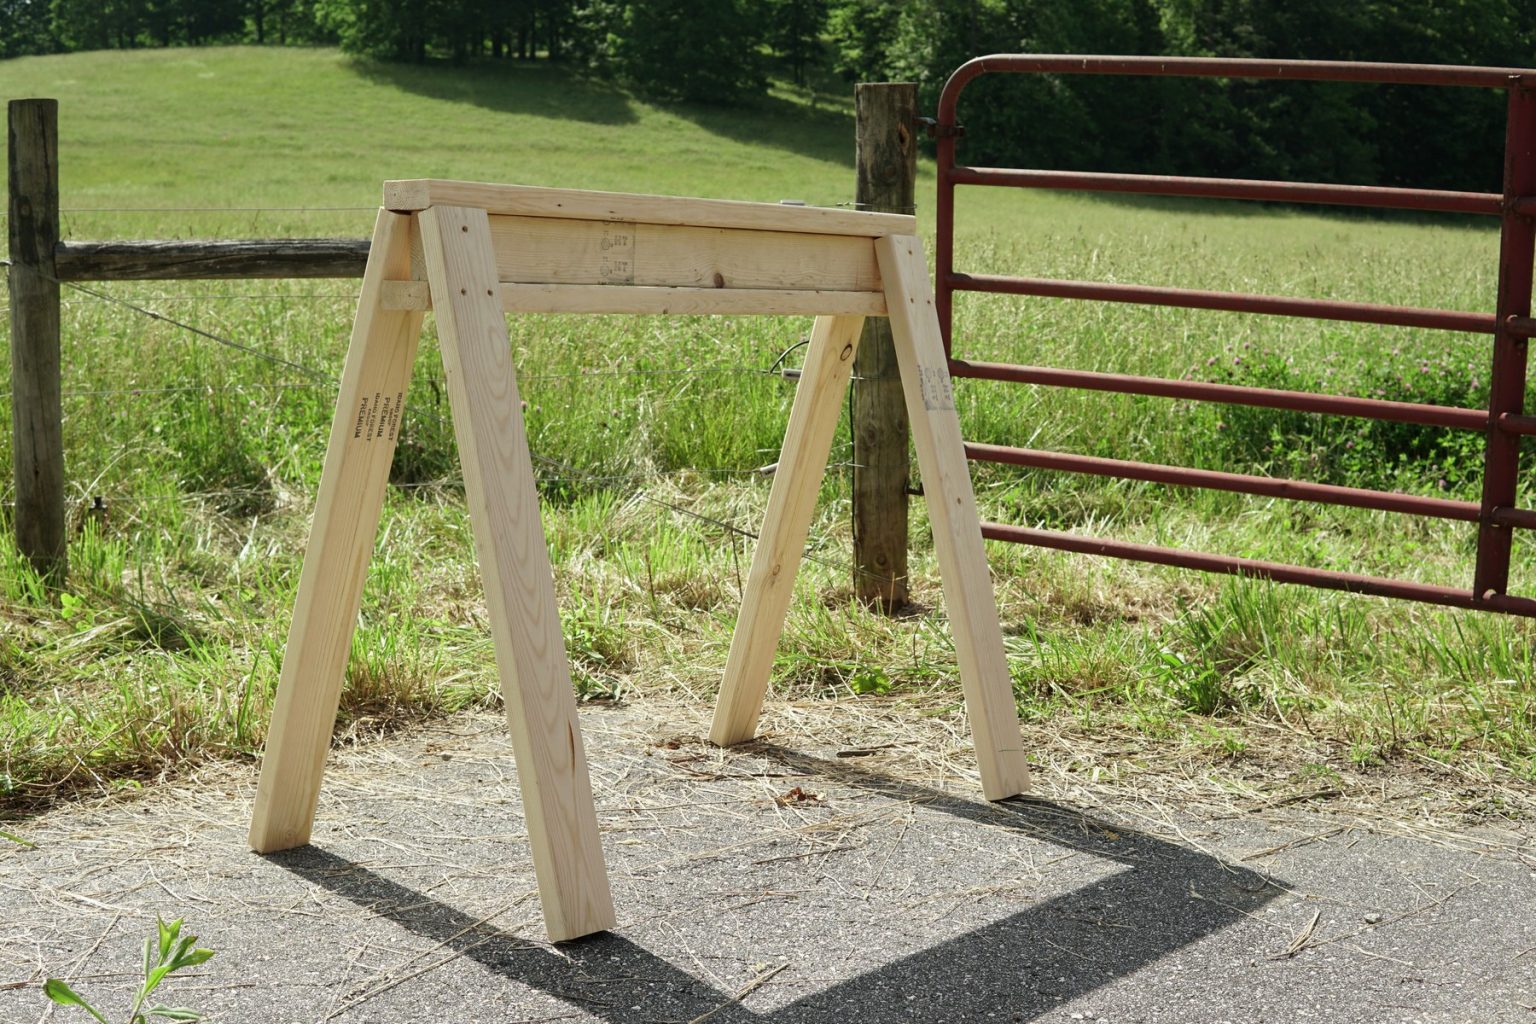
I’ve increased the height of the sawhorses from the height they were in the video I originally saw them in. They measure about 36 ¼ inch in height, which works perfectly for me being 6′ 2″ tall, and has seemed to work fine for others that have used them.
Materials, Cost, and Tools
These simple sawhorses would make a great beginner DIY project, as you only need a couple 2x4s cut into pieces, a drill, and some screws. No other cuts in the wood are needed. You don’t even need a saw if you have the lumber cut at the hardware store.
Materials to make two sawhorses:
- Lumber: Seven 8-foot 2x4s
Or if you have 6-foot boards available, four 6-foot 2x4s and three 8-foot 2x4s - 3 inch or 3 ½ inch wood screws; about 30 of them; I used 15 per sawhorse.
I used a 1lb. box of these tan star drive deck screws.
Cost of materials:
At “normal” lumber prices, this will only cost you about $39, including a $10 (1 lb.) box of deck screws. With current lumber prices being double to triple what they were due to the pandemic-induced lumber shortage, at the time of writing, this would cost about $55 (with 8-foot 2x4s costing $6.38).
Tools needed:
- Drill / driver
- Saw or have the 2x4s cut for free at the hardware store (Lowes or Home Depot will do this)
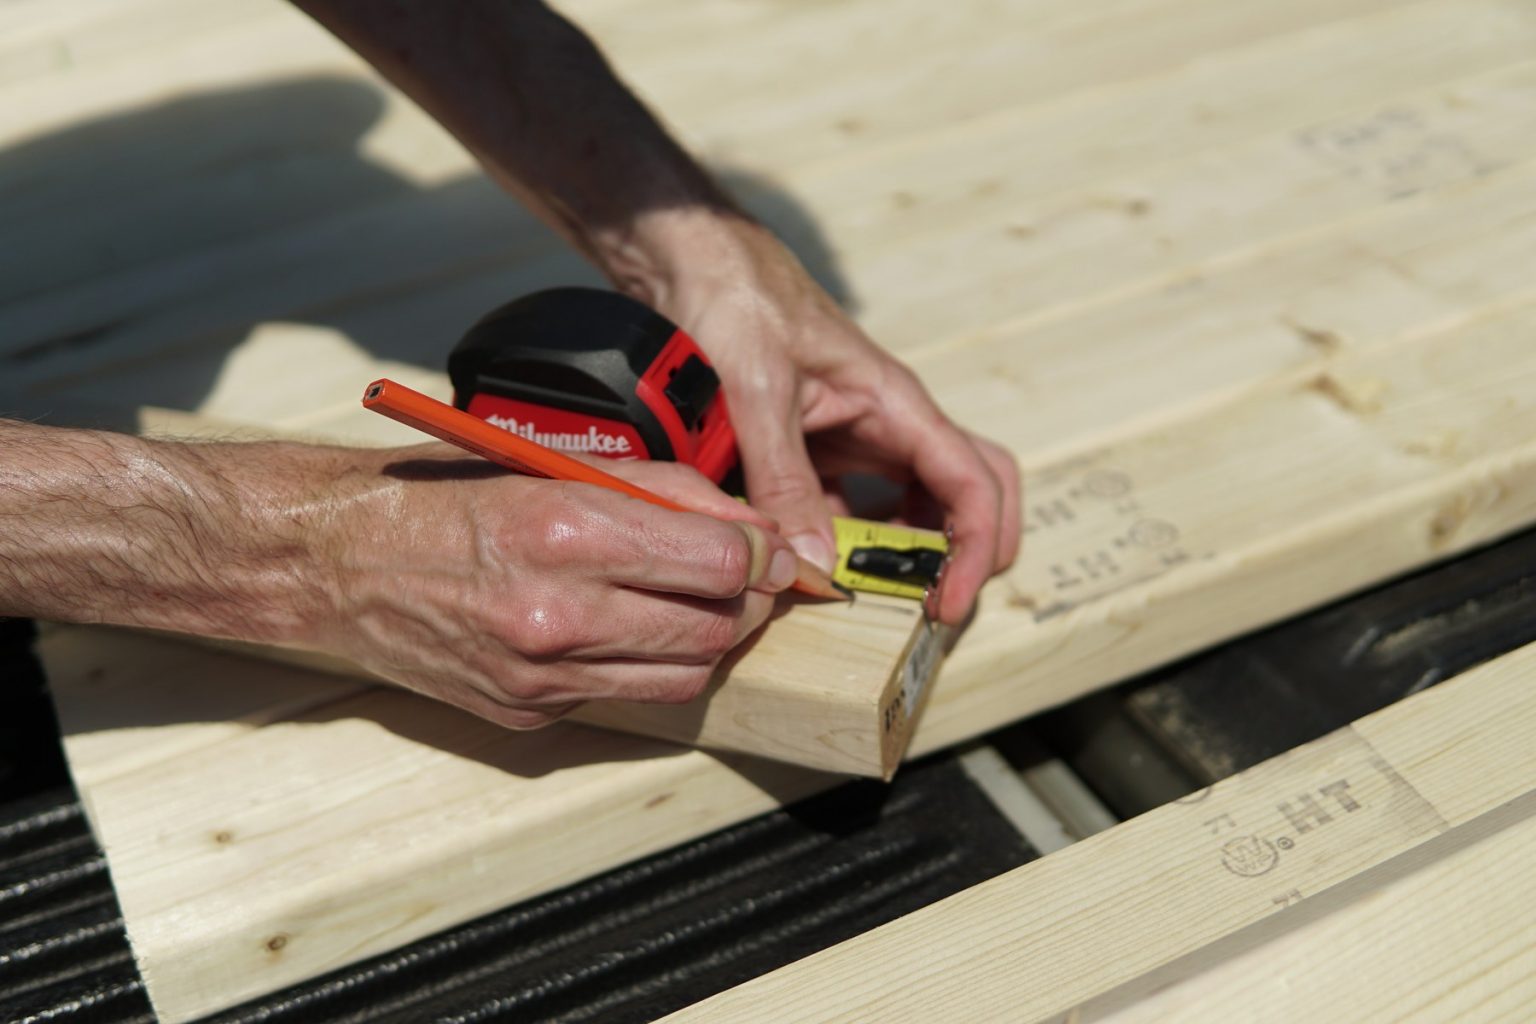
- Tape measure
- Pencil
- Clamps (recommended)
In the pictures below I have some regular metal clamps being used, but I would highly recommend picking up a pack of quick clamps, as this will save you a lot of time in the future.
How to Build These 2×4 Sawhorses
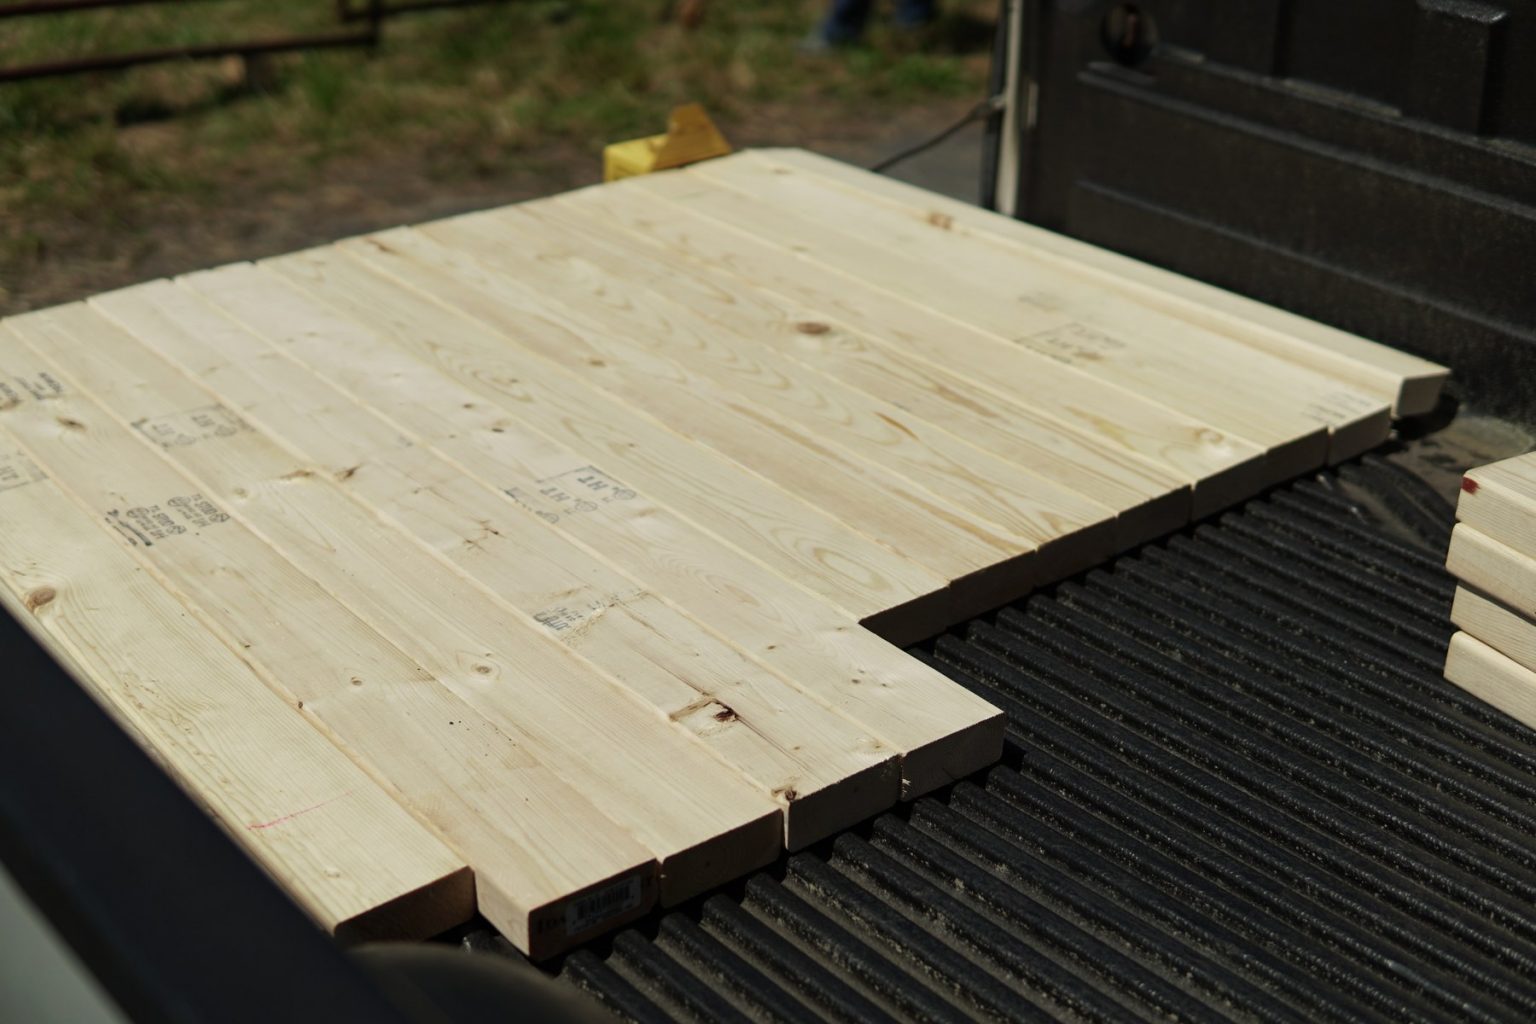
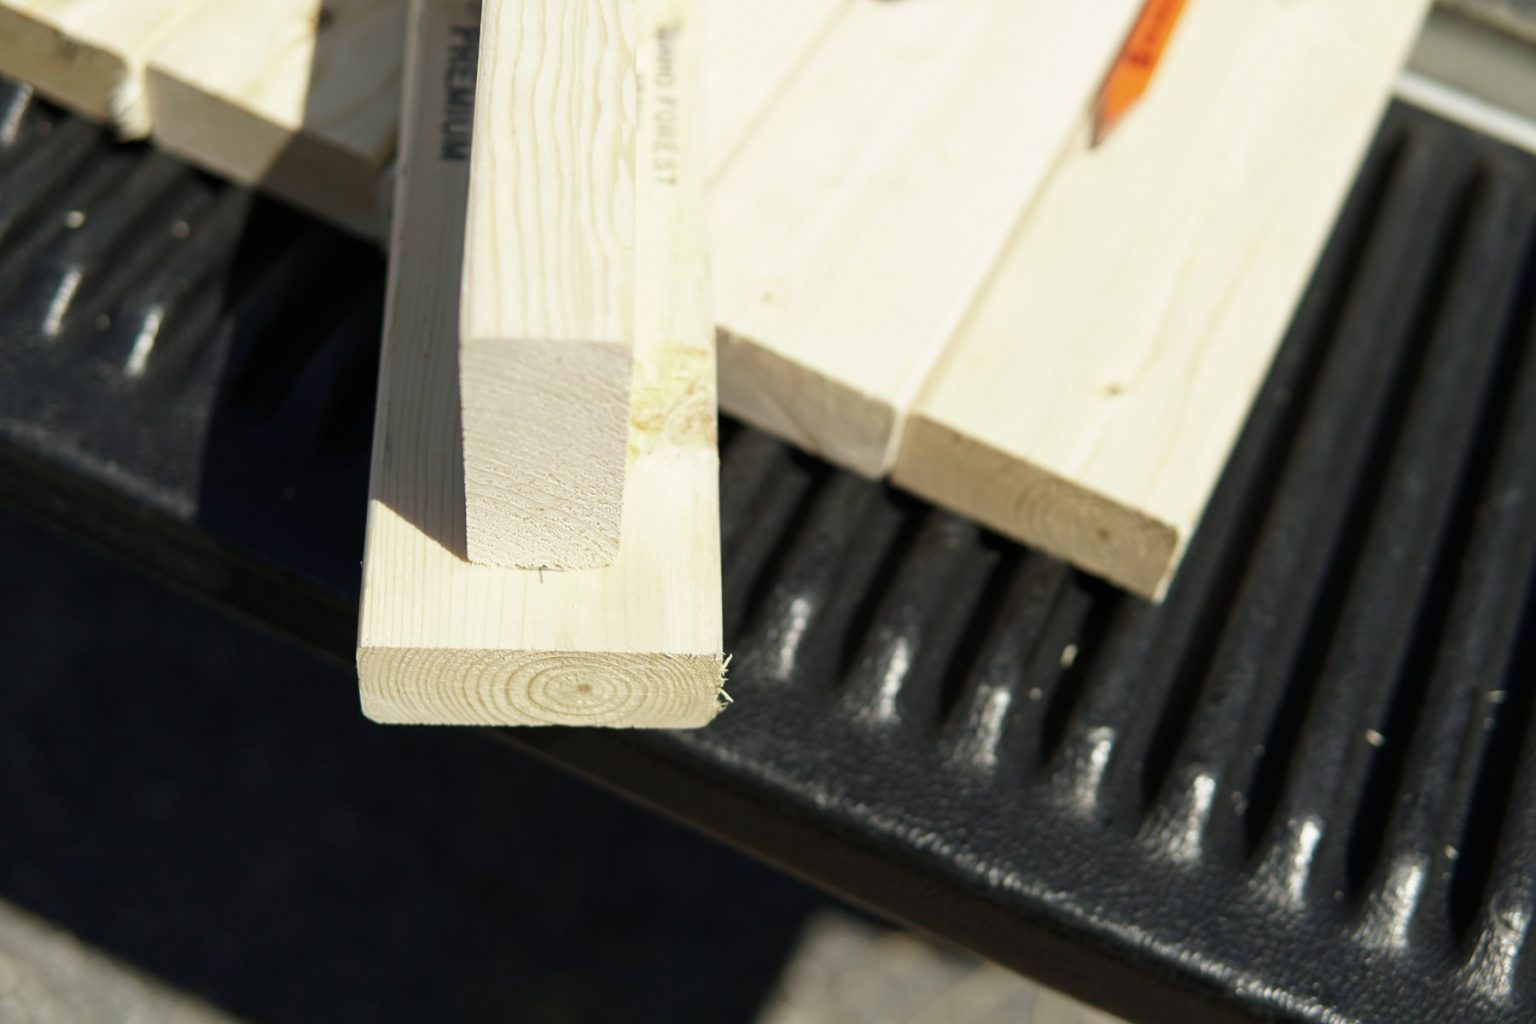
Cut the 2x4s into the needed pieces
4 at 42 inches (3′ 6″) — Top and bottom of I-beam
2 at 40 inches (3′ 4″) — Middle of I-beam
8 at 36 inches (3′) — Legs
Build the top (wooden I-beam / I-joist)
On the flat edge of the 42″ boards, measure in one inch from both ends, and mark with a pencil. Line up the 40″ board on edge (rotated 90 degrees) in the middle of the 42″ board. Measure halfway in the other direction from your existing markings (perpendicular) to help line it up in the center. You should have a one inch gap on each end.
Clamping the two boards together will make it a little easier to screw together, especially if you don’t have a great surface to work on:
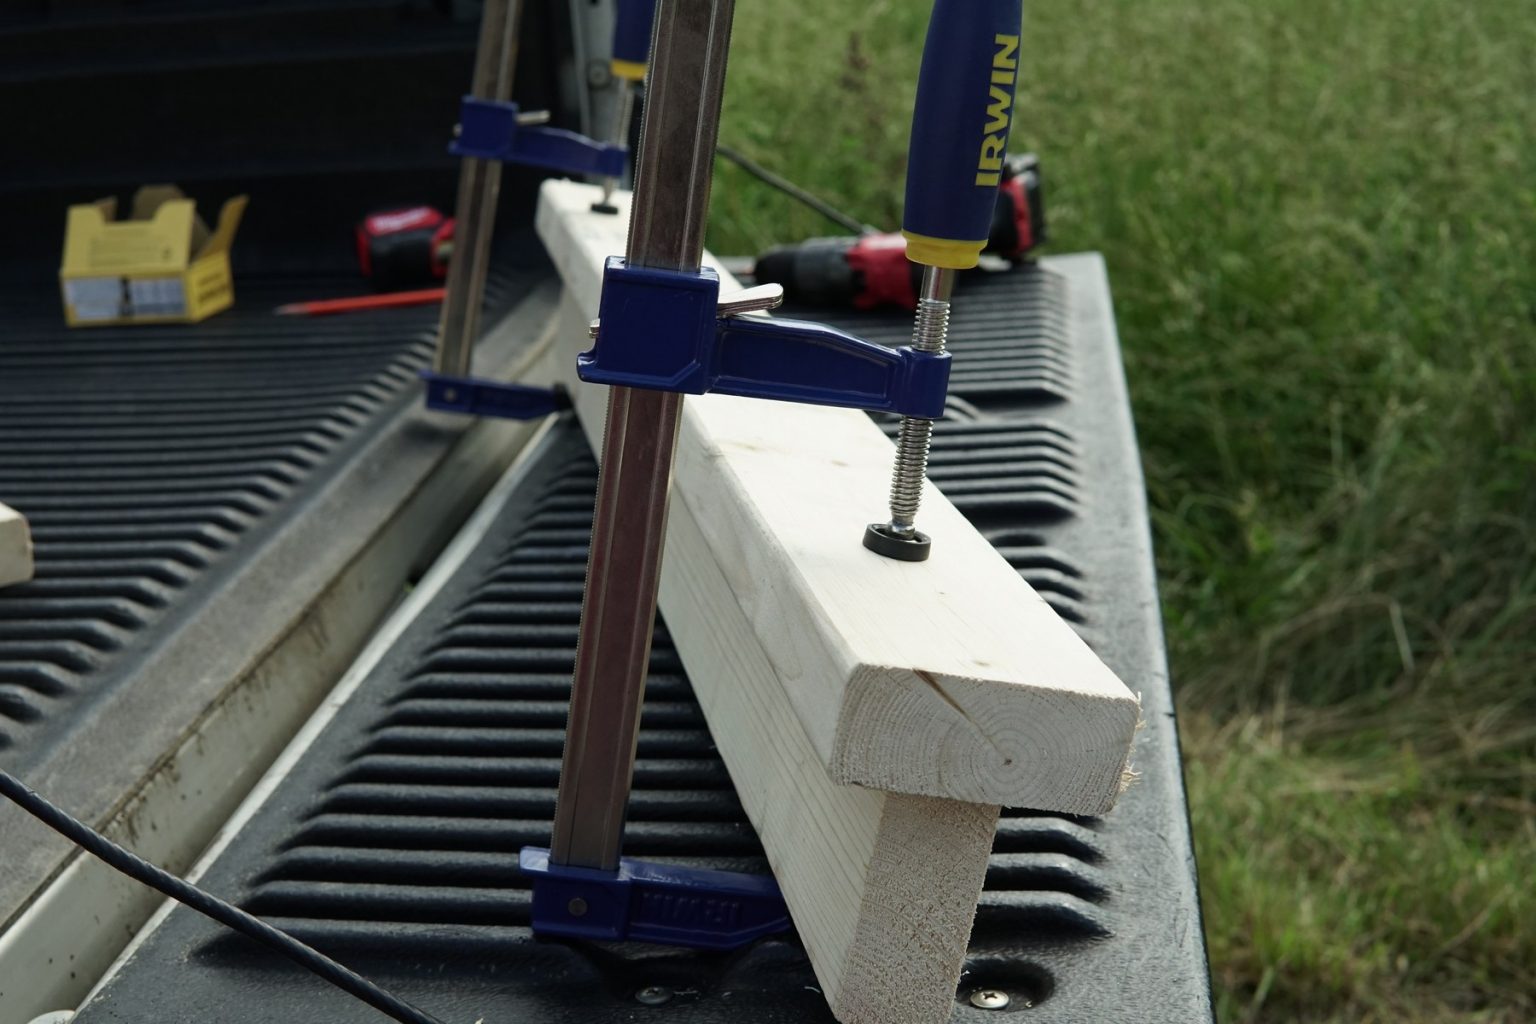
Use a drill/driver to screw the two boards together with wood screws. I used three screws, spaced evenly and not too close to the ends (to avoid splitting):
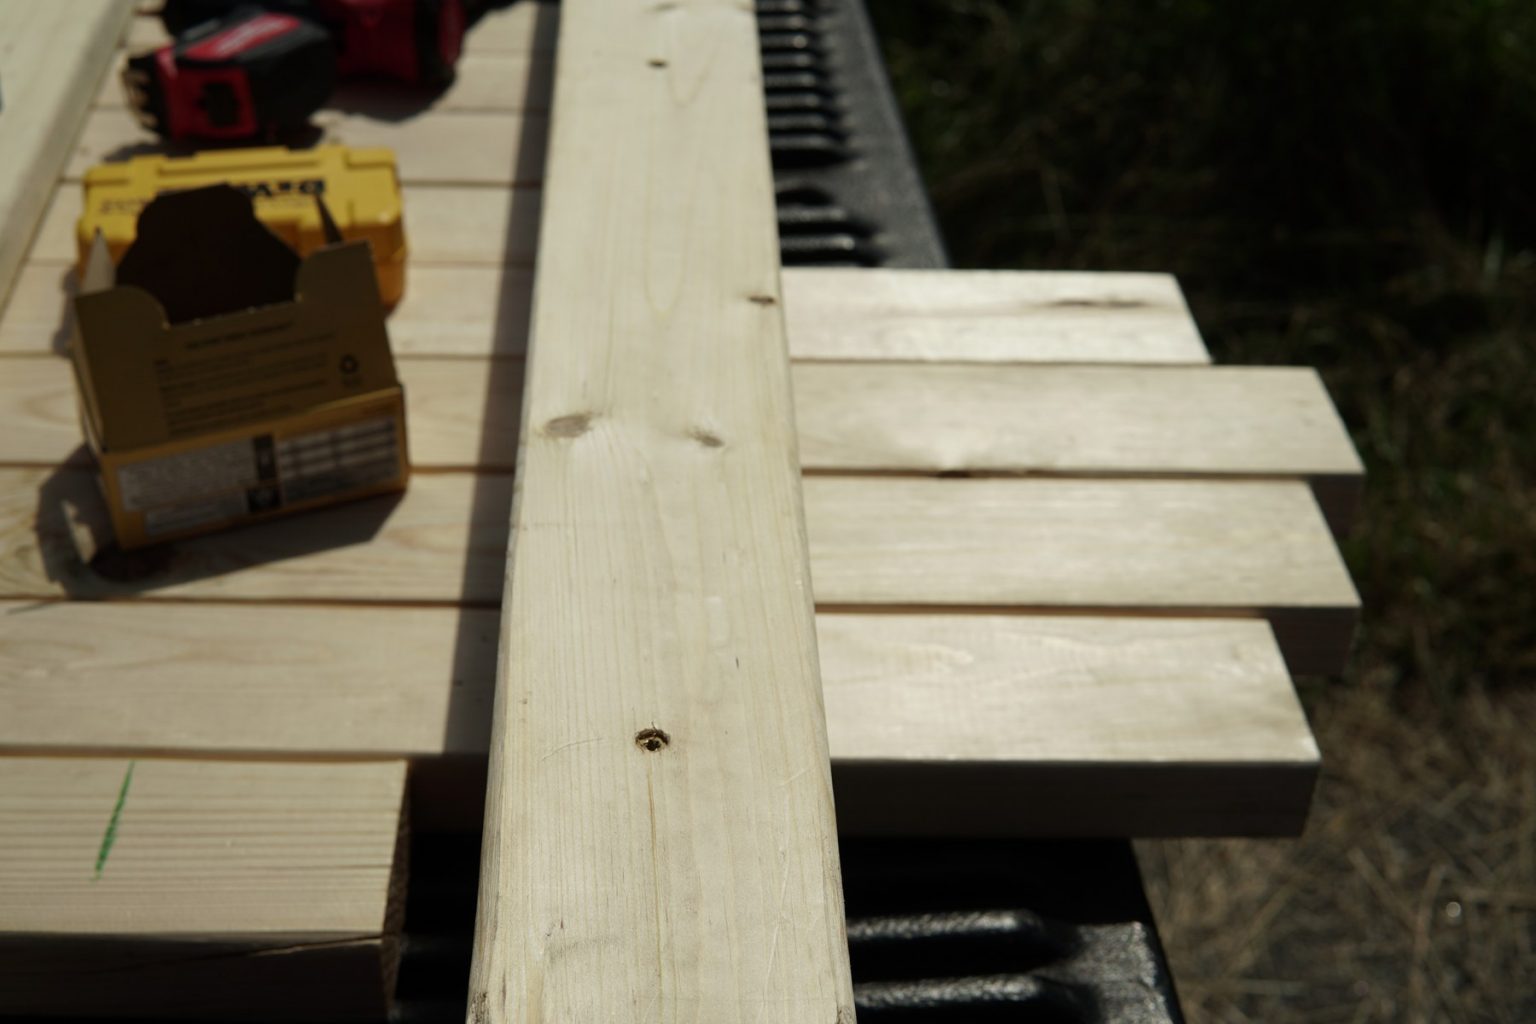
Screw in the other 42″ board in the same way, centered on the other side. This creates the finished wooden I-beam for the top:

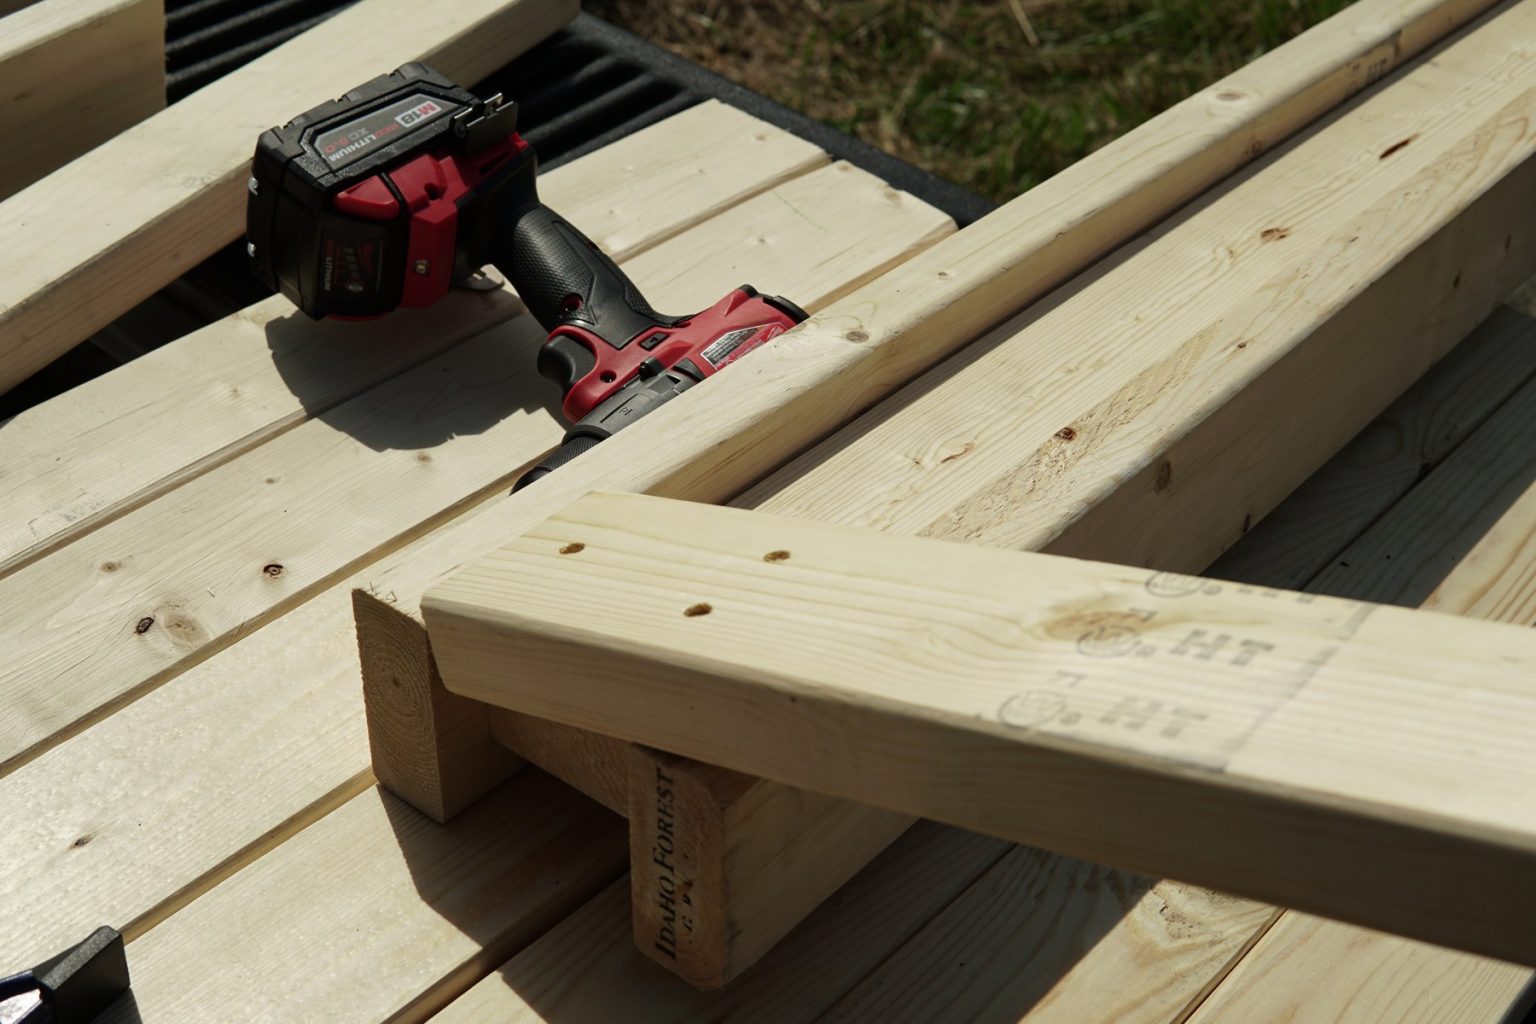
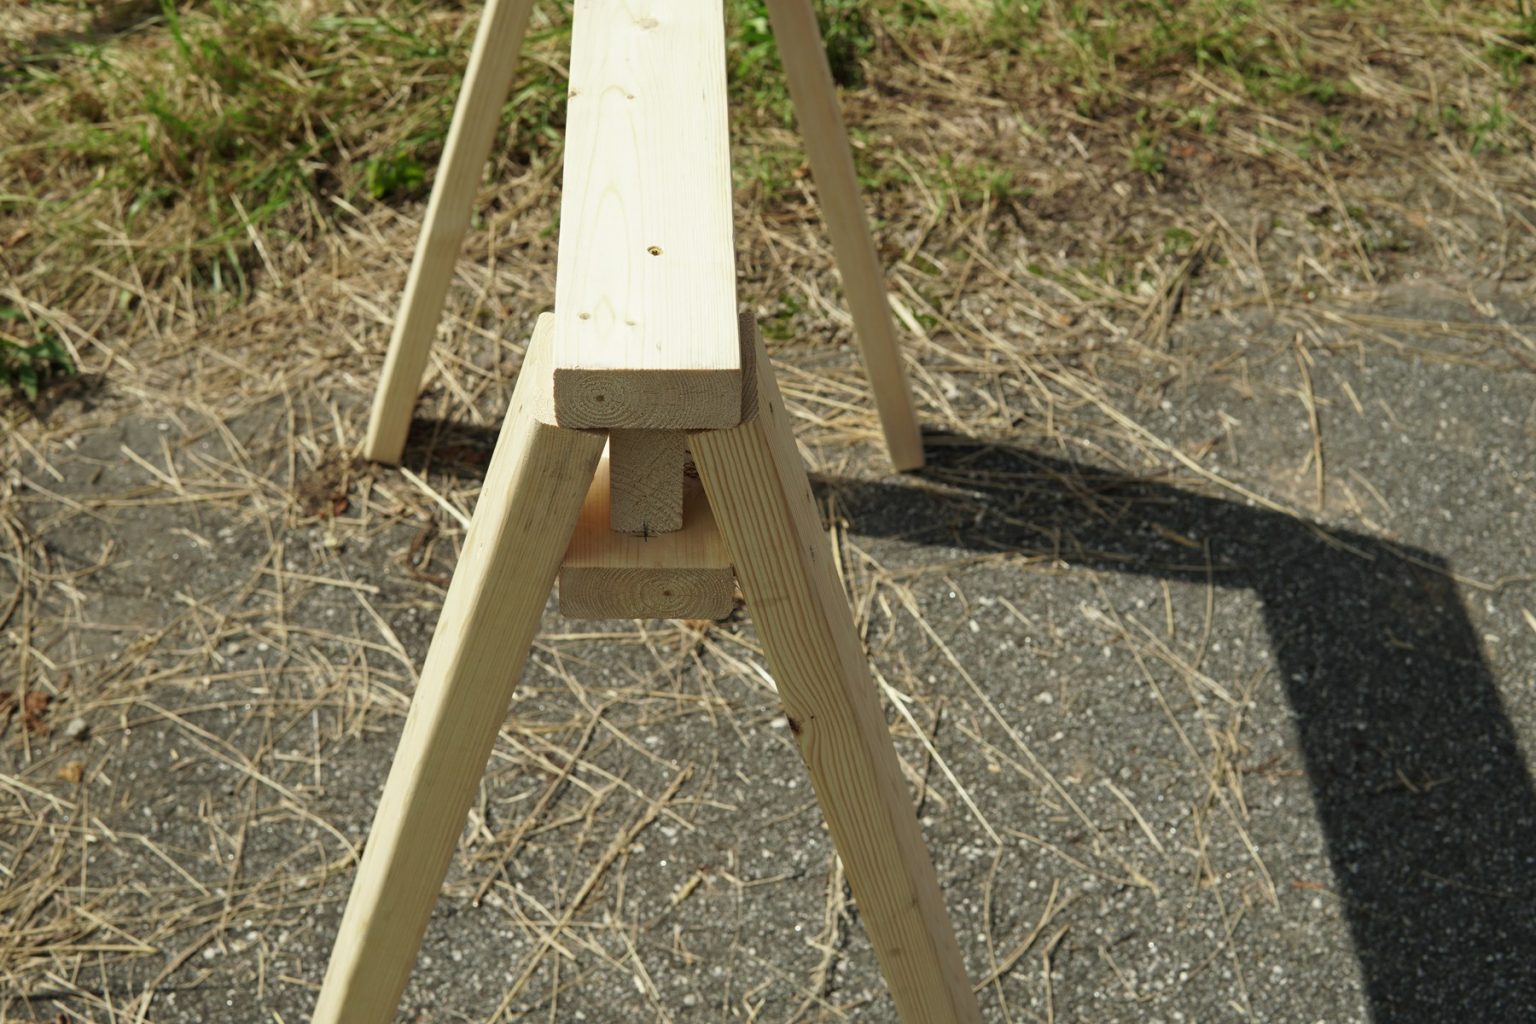
Screw the legs into the wooden I-beam
Align a 36″ leg piece under the lip of the wooden I-beam, and flush to the ends. Drive 3 screws in to secure it (making a triangular pattern); one into the middle of the wooden I-beam, and two straight into the beam’s bottom board. Then do the same for the rest of the legs.
The finished sawhorses
That’s it! These will safely hold quite a lot of weight. I stood on them after building them, and they were rock solid. If the legs were not cut very precisely, there may be a slight wobble. After checking on an even surface, that could be resolved with shaving or sanding the bottoms of the offending leg(s).
Almost one year later: how have they held up?
I’ve built an entire shed using these (video and writeup on that coming soon), and am continuing to use them for ongoing projects here at Rolling Moon Farm. They actually have been left outdoors, covered by a partial sheet of OSB. And they’re still going strong. If you are going to keep them outside, exposed to the elements, then I’d recommend coating them with some sort of protective finish/sealant, such as boiled linseed oil (or polymerized linseed oil). Or you could possibly use ground contact pressure-treated lumber instead of untreated lumber.
Additional Links:
- Living Traditions Homestead: Shorter version of these sawhorses (YouTube)
- The Durbin Compound: Even taller version of these sawhorses (YouTube) — these seemed a little too tall to me
- Next Level Carpentry: A more advanced, professional sawhorse (YouTube) — not simple, but I hope to build these in the future!
Leave the First Comment